Why Recaulking Is Worth Your Time
The thin line of caulk around your bathtub does a quiet but critical job - it seals the gap between the tub and the surrounding wall, preventing water from seeping behind tile or into the subfloor. When that seal lifts, cracks, or turns black with mold, it stops doing its job. Left unaddressed, even a small breach can lead to rotting drywall, damaged subflooring, or mold growth inside the wall cavity - repairs that can run into the thousands of dollars.
The good news: recaulking is one of the most accessible DIY home repairs. It requires no specialized skills and only a handful of inexpensive tools. What it does demand is patience and attention to preparation. Rushing either of those is the most common reason a fresh caulk job fails prematurely.
$1,000-$10,000+
Potential cost of water damage behind bathroom walls
According to home repair cost estimates from the Insurance Information Institute and home contractor sources, water intrusion from failed seals is among the most preventable and costly bathroom repairs.
2-5 years
Typical lifespan of tub caulk with proper installation
Caulk manufacturers generally indicate a properly applied, quality silicone or siliconized latex caulk in a wet zone can last two to five years or more under normal conditions.
Choosing the Right Caulk for the Job
Not all caulks are created equal, and the wrong product will fail faster than the one it replaced. For bathtub applications, look for a caulk labeled specifically for tub and tile use. These products are formulated to handle constant moisture, temperature swings, and the slight movement that occurs when the tub flexes under body weight.
You have two main options:
- 100% silicone caulk: The most durable and water-resistant choice. It resists mold well and bonds tightly to non-porous surfaces like porcelain and fiberglass. The trade-off is that it is harder to tool smoothly and requires mineral spirits for cleanup.
- Siliconized latex (also called "kitchen and bath" caulk): Easier to apply and clean up with water, with good flexibility and mold resistance. A solid choice for most homeowners tackling this project for the first time.
Choose a color that matches your tub - typically white or almond. Avoid general-purpose or paintable caulks in wet zones; they lack the mold inhibitors and flexibility needed to last.
Preparing the Surface: The Step That Determines Everything
Ask any experienced tile setter what separates a caulk job that lasts two years from one that lasts ten, and the answer is always the same: preparation. New caulk will not adhere properly to old caulk, soap scum, or moisture - so getting the surface perfectly clean and dry is non-negotiable.
Remove every trace of old caulk before applying anything new
New caulk layered over old caulk bonds to the old material rather than the tub surface, which means it will peel away just as the original did. Complete removal is what gives the new caulk a solid foundation.
Clean the joint with isopropyl alcohol after mechanical removal
Soap scum, mold residue, and body oils are invisible to the eye but block adhesion. A solvent wipe removes what scrubbing misses and gives the caulk a chemically clean surface to grip.
Wait for the surface to be completely dry - not just surface-dry
Moisture trapped in grout lines or small pores will cause silicone to fail at the bond line. Moisture and caulk are fundamentally incompatible at application time.
Apply caulk in one continuous bead without stopping
Starting and stopping creates inconsistencies in the bead depth and density, leaving thin spots or gaps that become early failure points. A smooth, uninterrupted pass produces the most uniform and reliable seal.
Tool the bead immediately and in one stroke
Silicone and latex caulks begin skinning within minutes of exposure to air. Tooling after that window has closed creates a rough, uneven surface and can introduce air pockets that reduce water resistance.
Application and Finishing
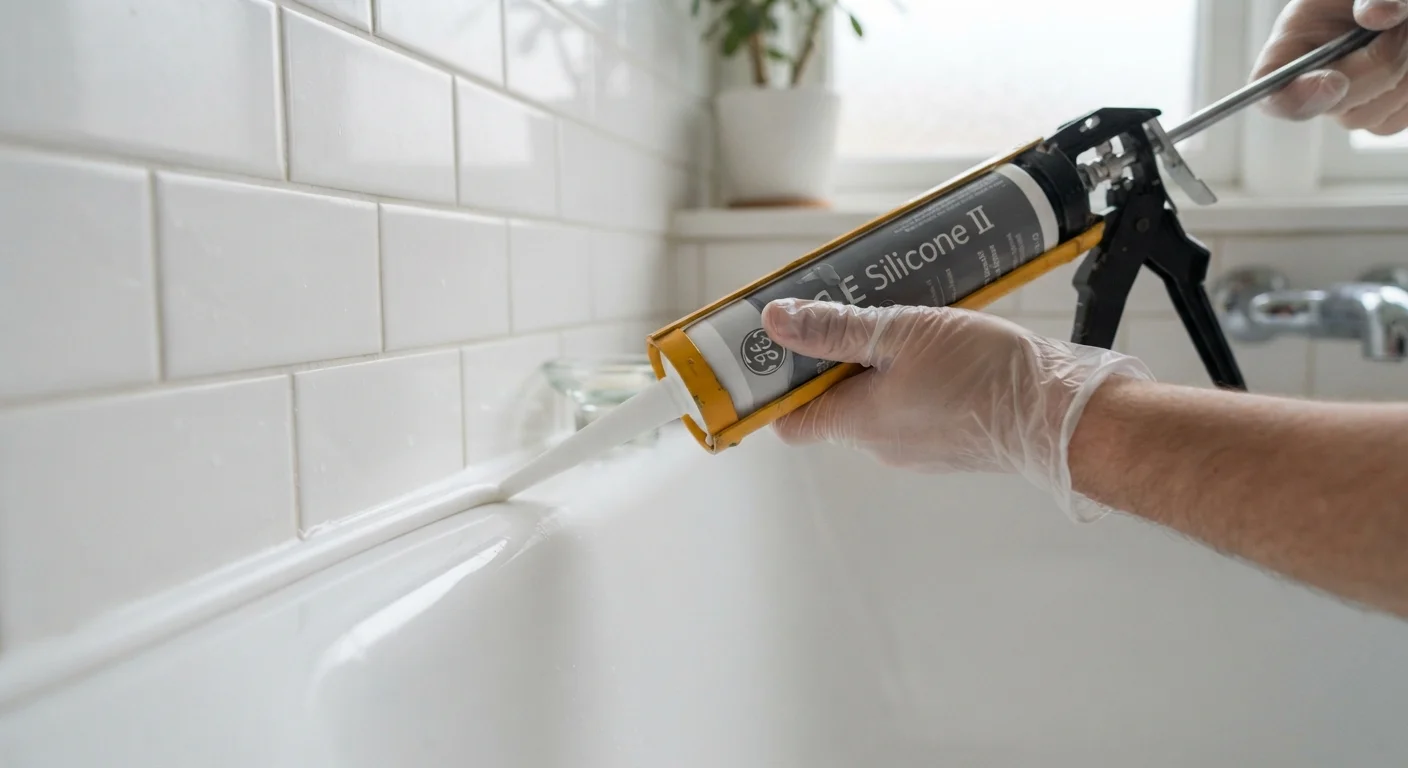
Once your surface is prepped and bone dry, you are ready to apply. Follow these steps carefully for a clean, professional-looking result:
- Fill the tub with water before you caulk. This is a step many beginners skip, but it matters: the tub sinks slightly under weight. If you caulk an empty tub and then fill it, the caulk can crack. Fill it first, caulk while it is full, then drain after the caulk has cured.
- Tape the edges with painter's tape on both sides of the gap for a clean, straight line.
- Cut the nozzle at a 45-degree angle, making the opening slightly smaller than the gap you are filling.
- Apply in one steady pass, holding the gun at a consistent angle and moving at an even pace. Do not stop and start mid-run if you can help it.
- Tool the bead immediately using a wet finger or a caulk-finishing tool. Smooth the line in one continuous stroke before the caulk skins over.
- Remove the tape while the caulk is still wet, pulling it away at a 45-degree angle.
Keep a Damp Rag Nearby While You Work
Excess caulk smears are much easier to remove while the material is still wet. Keep a damp rag within reach and wipe the nozzle between passes. Once caulk cures, removing stray smears from tile or porcelain requires a razor blade and careful effort.
Allow the caulk to cure fully before using the tub. Most products require 24-48 hours - check the manufacturer's label. Rushing this step is one of the most common reasons a new seal fails early.
Making Your Seal Last
A well-applied caulk job can last five years or more with basic maintenance. Keep the tub surround clean by wiping down the caulk line weekly - soap scum accumulation accelerates mold growth and can cause the caulk to lift at the edges. If you notice a small section starting to peel or gap, address it promptly; spot repairs are possible when caught early, before the full seal fails.
Good bathroom ventilation is equally important. Running the exhaust fan during and for 15-20 minutes after every shower dramatically reduces the humidity that shortens caulk life. If your bathroom lacks a working exhaust fan, cracking a window serves the same purpose.
Inspect the caulk line every six months as part of a routine home check. What you are looking for: any lifting at the edges, discoloration that does not scrub away, or visible gaps. Catching deterioration early turns a 20-minute re-caulk job into a much bigger headache if ignored too long.