Why the Cabin Air Filter Matters
The cabin air filter is a small but important component that cleans the air flowing into your car's passenger compartment through the heating, ventilation, and air conditioning (HVAC) system. It traps dust, pollen, mold spores, and other airborne particles before they reach you and your passengers.
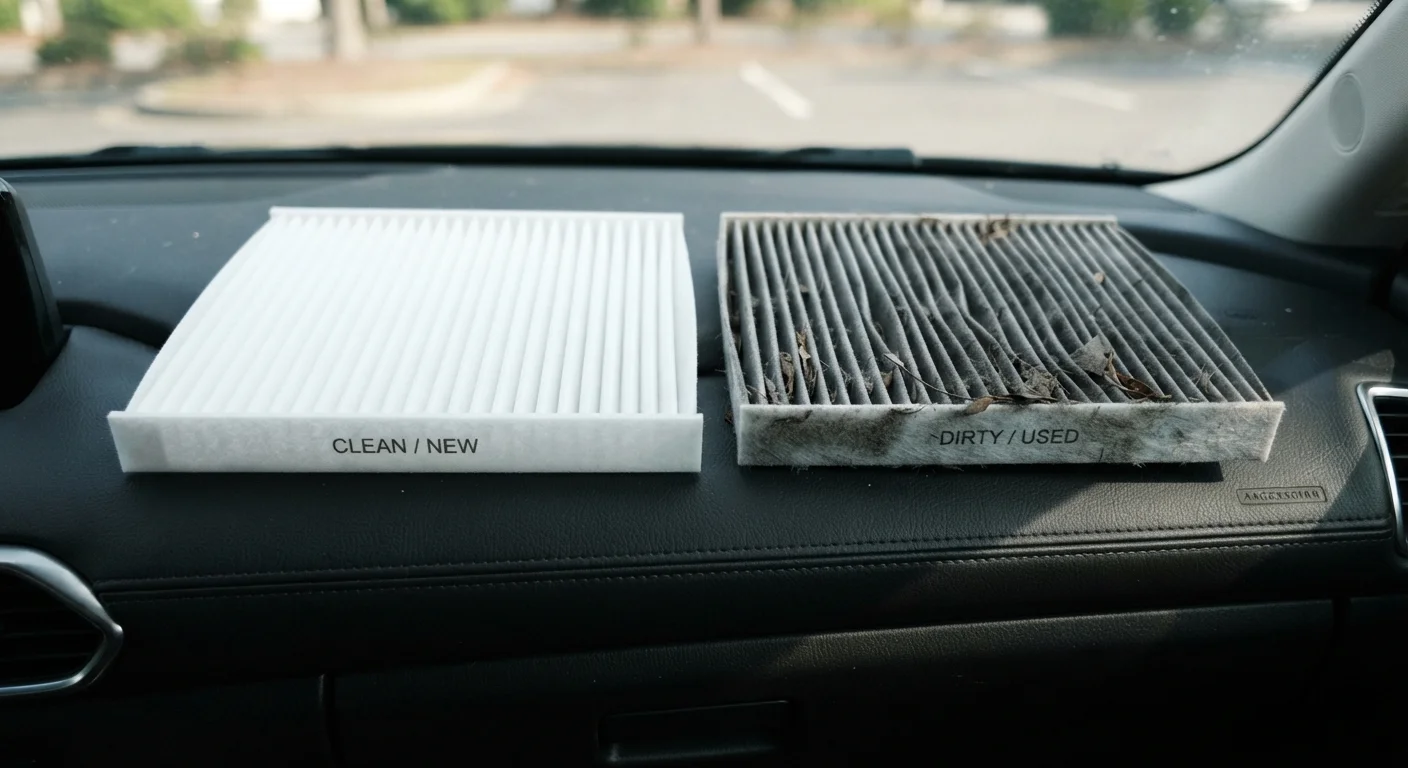
Over time, the filter becomes saturated with debris. When that happens, you may notice weaker airflow from the vents, a musty smell when the fan runs, or more visible dust settling on the dashboard. If you or your passengers have allergies or respiratory sensitivities, a dirty filter can make in-car air quality noticeably worse.
Most vehicle manufacturers recommend inspecting the cabin air filter every 12,000-15,000 miles, or roughly once a year - though driving in dusty or heavily polluted environments may call for more frequent checks. Consulting your owner's manual will give you the interval specific to your vehicle.
Note the Date and Mileage When You Replace
Write the date and your current odometer reading on a small piece of masking tape and stick it to the housing or inside your glove box. This simple habit makes it much easier to track when the next inspection is due, especially if you don't rely on a shop to keep service records for you.
What You'll Need
This is one of the more straightforward maintenance tasks you can do at home. Before you start, gather the items below.
What you will need
Owner's manual
Identifies the exact filter location, access procedure, and correct filter specification for your vehicle.
Replacement cabin air filter
The direct replacement part that restores clean airflow through your HVAC system.
Flashlight or phone torch
Provides light inside the glove box or under-dash area to see the housing and filter clearly.
Cloth or paper towels
Used to wipe accumulated dust from the inside of the filter housing before the new filter is inserted.
Step-by-Step: Locating, Inspecting, and Replacing the Filter
Follow these steps carefully. The process varies slightly by vehicle, so keep your owner's manual nearby as a reference throughout.
Find your vehicle's filter location
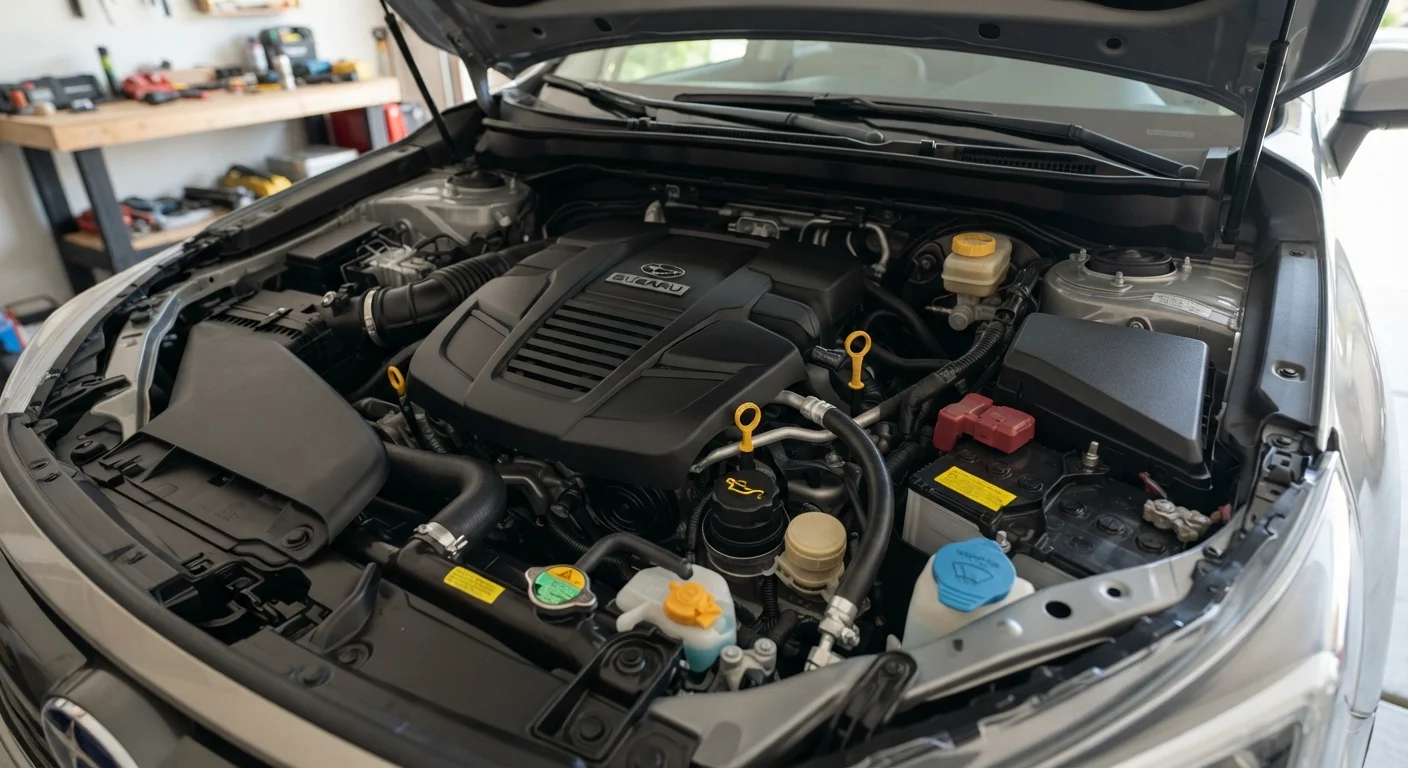
Cabin air filters are most commonly found in one of three locations: behind the glove box, under the dashboard on the passenger side, or under the hood near the base of the windshield. Look up the exact location in your owner's manual or search your vehicle's year, make, and model online before you begin.
Access the filter housing
For glove box access, open the glove box fully, then squeeze the side walls inward to release the stops and allow the door to drop down further. This exposes the filter housing behind it. For under-dash or under-hood locations, simply locate the rectangular plastic housing and unclip or unscrew the cover according to your manual's instructions.
Remove and inspect the old filter
Slide the old filter straight out of its housing, noting the direction it faces - most filters have an arrow indicating airflow direction, and the replacement must go in the same way. Hold the filter up to a light source. If it is visibly grey or brown, packed with debris, or has a noticeably dusty smell, it is ready to be replaced.
Install the new filter
Take the replacement filter - matched to your vehicle's exact make, model, and year - and confirm the airflow arrow on the frame points in the same direction as the one you removed. Slide it firmly into the housing until it seats flush with no gaps around the edges.
Close and secure the housing
Reattach the housing cover by pressing the clips or replacing any screws until they are snug. If you lowered the glove box, lift it back up and press the side walls inward to re-engage the stops, then close the door fully. Confirm everything is secure with a gentle tug on the housing cover.
Once the new filter is in place, run the fan on its highest setting for a minute and check that airflow is strong and even from all vents. If you notice any rattling, the filter housing may not be fully seated - open the housing and reseat it before driving.
When to Call a Professional
Cabin air filter replacement is genuinely beginner-friendly, but there are situations where it makes sense to involve a qualified mechanic. If your HVAC system continues to produce weak airflow, odd smells, or unusual noises after a fresh filter is installed, the issue likely lies elsewhere in the system - possibly a blower motor, ductwork obstruction, or refrigerant concern - and should be diagnosed by a professional.
Similarly, if your vehicle's filter housing is in an unusually awkward location or requires partial disassembly of the dashboard, a shop visit may save time and prevent accidental damage to trim panels.
As a general rule: if you're uncertain at any point, stop and consult a qualified technician. A minor task can become a costly repair if components are forced or incorrectly reassembled.