What Makes This Project Approachable
A tile backsplash is widely considered one of the most rewarding first DIY projects because the stakes are manageable, the materials are affordable, and the result is immediately visible. Unlike flooring or drywall work, a backsplash covers a limited area - usually 15 to 30 square feet - which keeps the learning curve contained. If you've ever tackled a painting project (see our complete interior paint guide for another approachable weekend project), you already understand the value of surface prep and working in sections.
The key mindset shift for tiling is patience. Rushing any phase - layout, adhesive application, or grout timing - is where most first-timers run into trouble. Follow the sequence below and let each stage complete fully before moving to the next.
What you will need
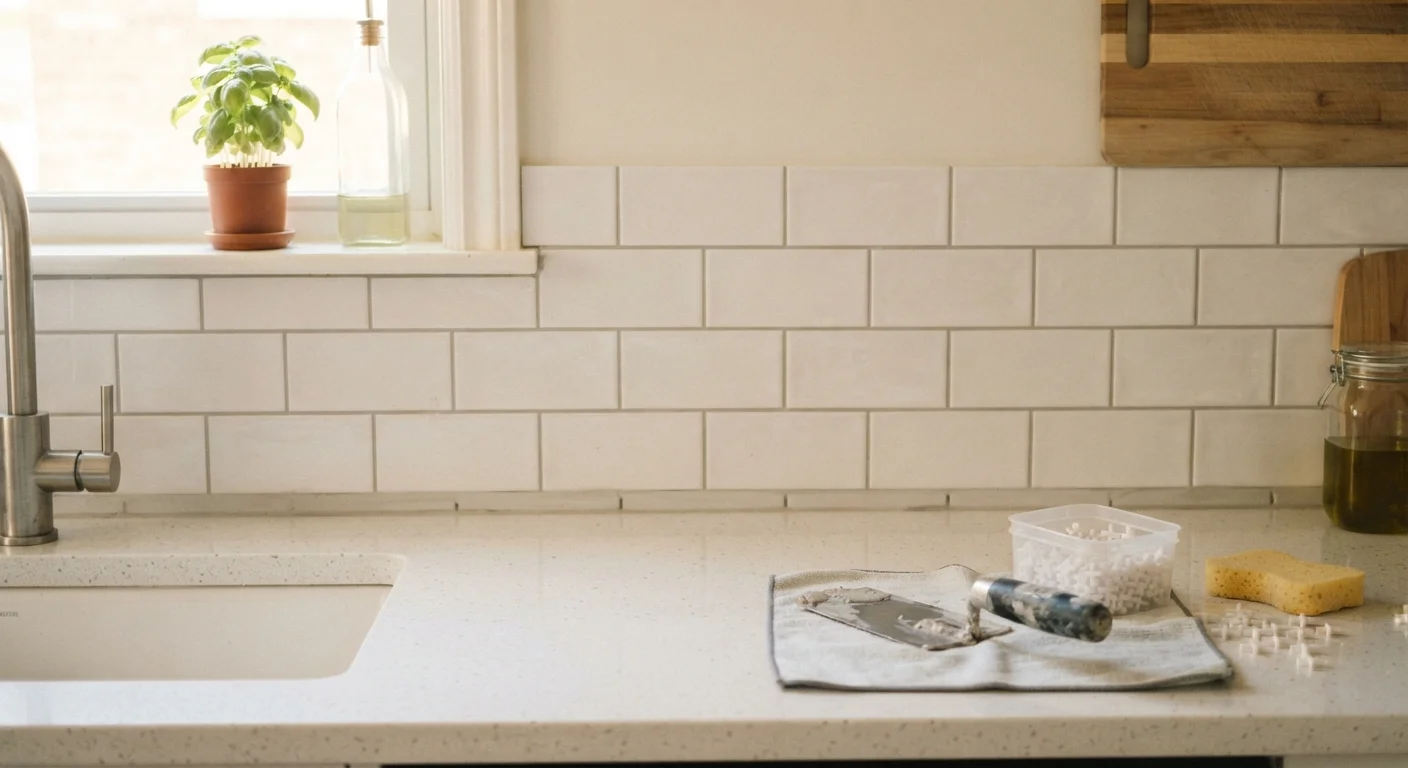
Notched trowel (3/16" V-notch for standard subway tile)
Spreads thinset mortar onto the wall in consistent ridges for proper tile adhesion.
Tile wet saw or manual tile cutter
Makes straight and angled cuts on tiles to fit edges, outlets, and corners.
Tile spacers
Maintains uniform grout joint width between tiles during installation.
Rubber grout float
Presses grout into the joints between tiles without scratching the tile surface.
Level and chalk line
Ensures the first row of tile is perfectly horizontal before setting begins.
Sponge and bucket
Used to wipe haze and excess grout from the tile face during cleanup.
Grout sealer
Applied after grout cures to resist moisture and staining in the kitchen environment.
Painter's tape
Protects countertops and cabinets from thinset and grout during installation.
Step-by-Step Installation
Work through these steps in order. Read the full step before starting it, especially where drying times are involved, so you can plan your day accordingly.
Turn Off Power Before You Start
Your backsplash area likely covers outlet boxes and switch plates. Always turn off the circuit breaker for that section of your kitchen before removing outlet covers or working near electrical boxes. Confirm the power is off with a non-contact voltage tester before proceeding. If any wiring appears damaged or exposed, contact a licensed electrician before continuing.
Prep the Wall Surface
Wipe the wall thoroughly with a damp cloth to remove grease, dust, and cooking residue. Kitchen walls near a stove or sink accumulate grease that will prevent thinset from bonding properly. Allow the surface to dry completely. Apply painter's tape along the top edge of your countertop and along cabinet edges to protect finished surfaces.
Find Your Starting Point and Mark a Level Line
Locate the midpoint of the wall and mark it with a pencil. Using a level or chalk line, draw a perfectly horizontal line across the wall at the height of your first tile row - typically just above the countertop. This line is your guide; if it's off, every row above it will compound the error.
Mix and Apply Thinset Mortar
Mix thinset mortar in a bucket according to the package directions until it reaches a peanut-butter-like consistency - it should hold a ridge without slumping. Using your notched trowel held at a 45-degree angle, spread thinset onto the wall in a small section (about 2-3 square feet at a time). Work in small sections so the mortar doesn't skin over before you set the tiles.
Set the Tiles
Press each tile firmly into the thinset with a slight twisting motion to collapse the ridges and create full contact. Place tile spacers at each corner as you go. Work from your centerline outward so the layout remains balanced. Use your level frequently to check that rows stay straight horizontally and vertically as you build upward.
Cut Tiles for Edges and Outlets
Measure the gap at wall edges, under cabinets, and around outlet boxes carefully before cutting. A tile wet saw gives the cleanest, most accurate cuts and is worth renting for most projects. A manual snap cutter works for simple straight cuts on thinner tiles. Always wear safety glasses when cutting tile.
Allow Thinset to Cure, Then Remove Spacers
Let the thinset cure for at least 24 hours (verify with your product's instructions). Once cured, remove all tile spacers by prying them out gently with a utility knife tip or a grout saw. Check that no mortar has squeezed up into the joints - scrape it out now if it has, because grout needs clean, open joints to bond properly.
Mix and Apply Grout
Mix grout to a smooth, lump-free consistency following package directions. Using a rubber grout float held at a 45-degree angle, press grout diagonally across the joints in firm, sweeping strokes. Work in 3-4 square foot sections. After each section, wipe the tile face with a damp (not soaking) sponge in a circular motion to remove surface grout before it hardens.
Final Cleanup and Sealing
Once grout has dried to a haze on the tile surface (usually 30-60 minutes), buff the tiles with a clean dry cloth to remove the residue. Allow grout to cure for 48-72 hours. Apply a penetrating grout sealer according to the product instructions to protect against moisture and kitchen stains. Finally, run a thin bead of color-matched caulk (not grout) at the joint between the backsplash and countertop - this flexible joint accommodates natural movement and prevents cracking.
Don't Rush the Drying Times
Thinset mortar typically needs 24 hours to cure before you apply grout - check the manufacturer's instructions on your specific product. Grouting too early can shift tiles out of alignment and weaken the bond. Grout itself generally needs 48-72 hours before sealing.
Start With a Dry Layout First
Before applying any adhesive, lay your tiles out on the countertop to preview the pattern and identify where cut tiles will fall. Adjust the starting point so you avoid awkward slivers at the ends or top edges - a small shift of a few inches can make a big visual difference in the finished result.
Troubleshooting Common First-Timer Mistakes
Even careful installers encounter a few hiccups. Here are the most common issues and how to address them:
- Tiles not sticking: Usually caused by a greasy wall surface or thinset that was allowed to skin over. Remove the tile immediately, clean off the mortar, prep the surface again, and reset with fresh thinset.
- Grout cracking: Often the result of grouting too soon before thinset fully cured, or using grout instead of flexible caulk in corner joints. Remove cracked grout with a grout saw and re-apply.
- Uneven grout lines: Check that spacers were used consistently and that tiles were pressed straight rather than angled. Minor variation in handmade or natural-stone tile is normal and part of the character.
- Grout haze that won't buff off: If grout haze hardens completely, a commercial tile cleaner designed for dried grout residue can help. Test in an inconspicuous area first.
With careful prep and a measured pace, most first-timers complete a backsplash they're genuinely proud of - and gain skills that transfer directly to future tiling projects throughout the home.