Choosing the Right Paint for Each Room
Before you open a single can, you need to understand two variables: paint type and sheen level. Most interior paints sold today are water-based latex formulas, which dry faster, have lower odor, and clean up with soap and water. Oil-based paints are more durable but require mineral spirits for cleanup and have stronger fumes - they are rarely the right choice for a first-time DIY project.
Sheen level is equally important. Here is a quick reference:
- Flat/Matte: Hides surface imperfections well; best for low-traffic areas like adult bedrooms and formal dining rooms. Not washable.
- Eggshell: A slight sheen that is easy to wipe down; a versatile choice for living rooms and hallways.
- Satin: Slightly more reflective and more moisture-resistant; works well in children's rooms and family spaces.
- Semi-Gloss: Durable and moisture-resistant; the standard choice for kitchens, bathrooms, and all trim work.
- Gloss: Very shiny and very durable; typically reserved for doors and cabinetry.
Pair your paint project with a broader home refresh - if you are decluttering your home before painting, you will have better access to walls and corners.
Gathering Your Tools and Materials
Cutting corners on tools leads to frustrating results. Here is what a well-equipped interior paint job requires:
- Rollers: A 9-inch roller with a 3/8-inch nap covers most smooth to lightly textured walls. Use a 1/2-inch nap for heavier textures.
- Brushes: A 2-inch angled sash brush for cutting in edges near ceilings, trim, and corners.
- Roller tray and liners: Disposable liners speed up cleanup significantly.
- Painter's tape: Blue low-tack tape protects trim and adjacent surfaces without pulling off existing paint when removed.
- Drop cloths: Canvas cloths stay put and absorb drips; plastic sheeting is slippery underfoot.
- Extension pole: Attaches to your roller for painting ceilings and tall walls without a ladder in most cases.
- Putty knife, spackling compound, sandpaper (120- and 220-grit): Essential for surface prep.
Buy Slightly More Paint Than You Think You Need
Calculate your square footage (wall height × perimeter), subtract 20 square feet per standard door and 15 per window, then divide by the coverage listed on the can. Add 10% to that figure. Running short mid-project and needing a second can risks a slightly different dye lot that is noticeable on your wall.
This project pairs naturally with other budget-friendly home improvements. See our guide to home improvement on a budget for strategies on prioritizing projects and sourcing materials wisely.
Preparing Surfaces the Right Way
Professional painters will tell you that preparation takes longer than painting itself - and they are right. Skipping this stage is the single most common reason amateur paint jobs fail early.
- Clear the room: Move furniture to the center or out entirely. Remove switch plates and outlet covers.
- Clean the walls: Wipe down with a slightly damp cloth or a mild trisodium phosphate (TSP) substitute solution to remove grease, dust, and grime. In kitchens, this step is non-negotiable.
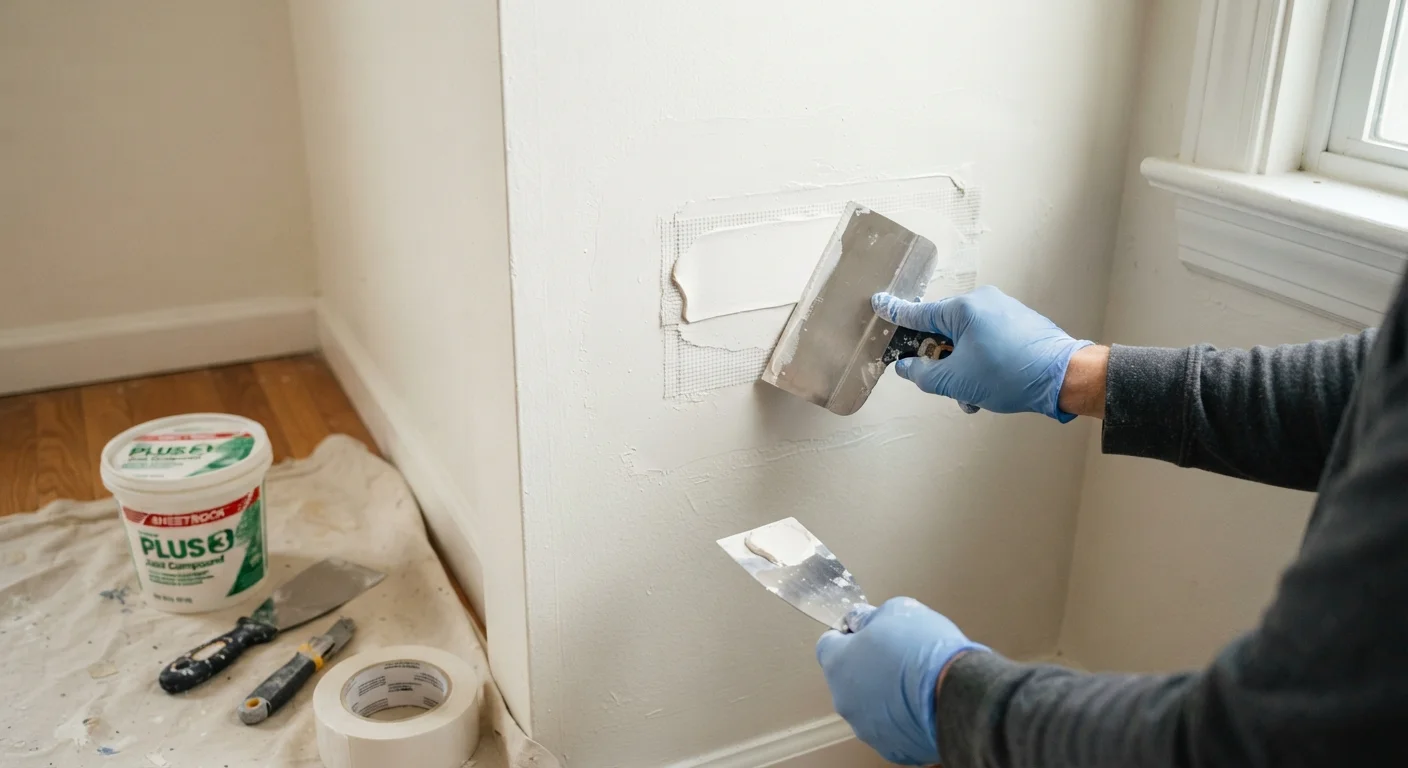
- Repair damage: Fill nail holes and small cracks with spackling compound. Allow to dry fully, then sand flush with the surrounding surface using 120-grit sandpaper, finishing with 220-grit for smoothness.
- Sand glossy surfaces: If painting over existing semi-gloss or gloss paint, lightly sand the entire surface to give the new coat something to grip.
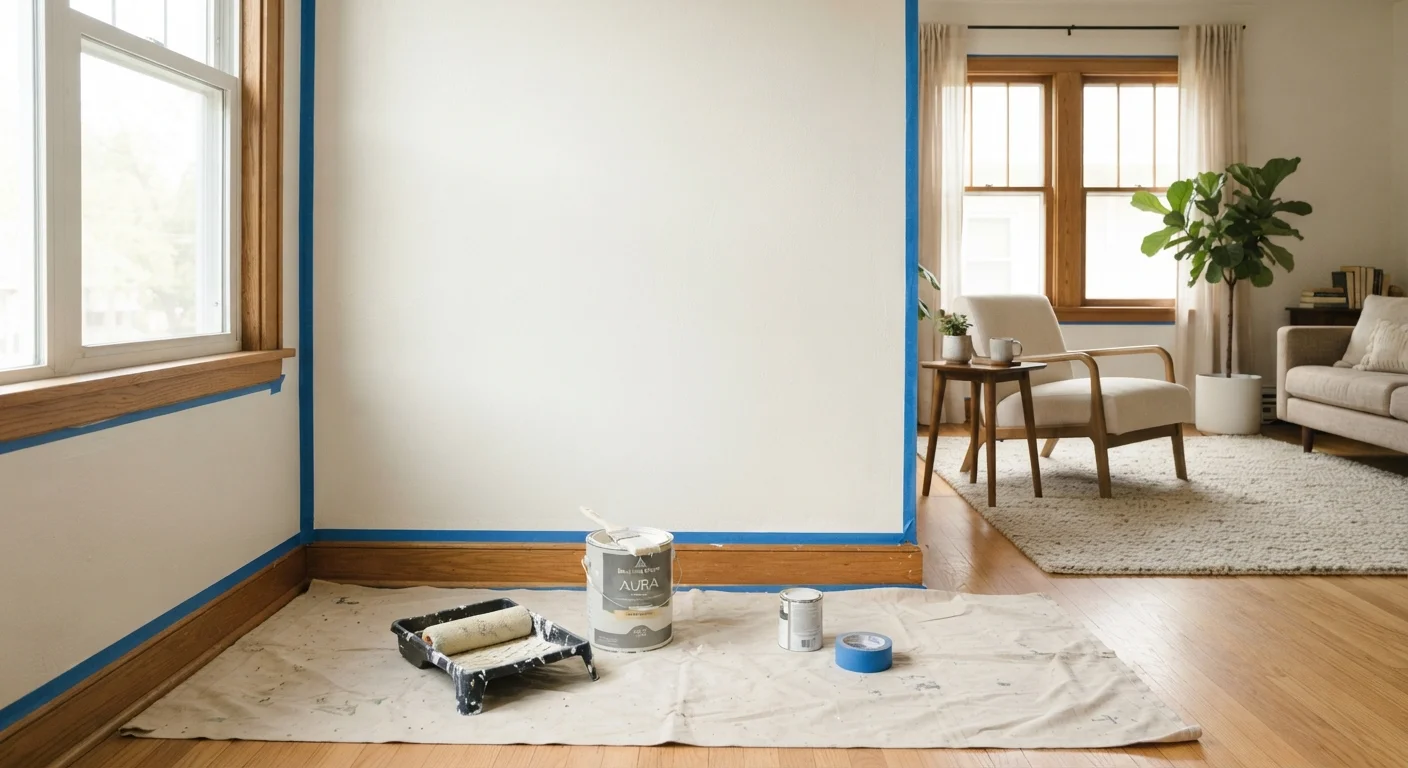
- Tape and protect: Apply painter's tape along trim, baseboards, and ceiling lines. Press the tape's edge firmly to prevent paint bleed.
Homes Built Before 1978: Test for Lead Paint
Sanding or disturbing painted surfaces in older homes carries a risk of lead exposure. Inexpensive lead test swabs are widely available at hardware stores. If a test comes back positive, consult a certified lead-safe contractor before proceeding. Do not sand lead-painted surfaces without proper containment and respiratory protection - this is not a risk to take lightly, especially in homes with children.
Priming: When It's Necessary and When to Skip It
Primer seals the surface, improves adhesion, and helps topcoat colors appear true. You do not always need a separate primer coat, but certain situations make it essential:
- New or patched drywall: Bare drywall and spackled spots are highly porous and will absorb topcoat unevenly, creating dull spots called flashing.
- Dramatic color changes: Going from a deep red or navy to a light neutral typically requires a tinted primer to avoid requiring four or more topcoats.
- Stains: Water stains, smoke damage, or crayon marks need a stain-blocking primer (shellac-based or water-based formula) to prevent bleed-through.
- Unpainted wood or masonry: These surfaces require appropriate primers before any topcoat.
For straightforward repaints where you are staying in a similar color family, a paint-and-primer-in-one product may be sufficient. Apply primer with the same roller you plan to use for the topcoat, and allow it to dry fully - typically one to two hours for water-based primers - before proceeding.
Painting Technique: Walls, Ceilings, and Trim
Order matters. The professional sequence is: ceiling first, walls second, trim last. This way, any drips from the ceiling onto the walls get covered, and any smudges on trim from wall work get touched up at the end.
Cutting In
Before rolling any surface, use your angled brush to cut in - painting a 2- to 3-inch band along every edge where a roller cannot reach: corners, ceiling lines, and along trim. Load your brush moderately (about an inch of bristle depth in paint), and use long, steady strokes. Let it dry before rolling over it.
Rolling Walls
Load the roller evenly in the tray, removing excess by rolling across the ridged section. Apply paint in a large W or M pattern to distribute paint across a 3-foot section, then fill in the pattern with parallel strokes without lifting the roller. Maintain a wet edge - always roll into wet paint rather than starting a new section next to a dry one, which creates visible lap marks.
Trim and Doors
Apply semi-gloss to trim using a brush in long, smooth strokes along the grain of the wood (or in one consistent direction for MDF trim). Two thin coats will look better than one heavy coat. Allow the first coat to dry completely before applying the second.
Always apply two thin coats rather than one thick coat. A thick coat traps moisture underneath and is far more likely to sag, drip, or peel.
Thin coats dry evenly and bond more effectively to the surface, resulting in a harder, longer-lasting finish with better color uniformity.
When cutting in, paint a slightly uneven, feathered edge - not a perfectly straight hard line. The roller will blend into it better and the transition will be invisible.
A hard cut-in line can become visible as the paint dries and the sheen angle changes, especially in raking light from windows.
Cleanup, Drying, and Final Touches
Once the final coat is on, resist the urge to remove painter's tape immediately. Wait until the paint is dry to the touch but not fully cured - typically 30 to 60 minutes for latex - then pull the tape back at a 45-degree angle slowly and steadily. Pulling too late risks peeling cured paint; pulling too early risks smearing.
Cleaning brushes and rollers: For latex paint, rinse immediately with warm water and work the bristles under running water until the water runs clear. Store brushes hanging or flat to preserve their shape. Rollers can be cleaned and reused, or wrapped tightly in plastic wrap between coats to prevent drying.
Drying vs. curing: Interior latex paint is typically dry to the touch within one to two hours, but it does not fully cure (harden) for 14 to 30 days. Avoid scrubbing freshly painted walls during this window. Reinstall switch plates and outlet covers only after the paint is fully dry.
Touch-ups: Keep a small labeled container of leftover paint for touch-ups. Paint applied over a fully dried wall will look slightly different if the surrounding paint has cured, so feather touch-up strokes at the edges rather than painting a solid patch.
Interior painting is one of the most accessible high-impact home improvement projects available to homeowners. If you find you enjoy tackling weekend projects after this one, consider expanding your skills - tile backsplash installation is another achievable project for growing DIYers.