Why Weatherstripping Matters Before Winter
Small gaps around doors and windows might seem insignificant, but collectively they can account for a substantial portion of a home's heat loss during cold months. Air infiltration - the uncontrolled movement of outside air into the home - forces your heating system to work harder to maintain a comfortable temperature. Weatherstripping creates a physical barrier that blocks this airflow at the source.
Unlike insulation, which slows heat transfer through solid materials, weatherstripping seals the movable joints where doors and window sashes meet their frames. These joints flex with every opening and closing cycle, and the materials that seal them wear out over time. Checking them each fall, before heating season, is one of the most efficient home maintenance habits you can develop. For a broader look at how to approach home upkeep cost-effectively, see our guide to home improvement on a budget.
Test for Drafts Before You Buy
On a windy day, hold a lit incense stick or a thin strip of tissue paper near door and window frames. If it flickers or moves, air is infiltrating. This simple test helps you pinpoint which openings actually need attention so you don't overbuy materials.
What You'll Need
Weatherstripping is available at hardware and home improvement stores in several forms. Gathering the right materials before you start will keep the project moving efficiently.
Tape measure
Measure the perimeter of each door and window opening to determine how much weatherstripping to purchase.
Utility knife or scissors
Cut weatherstripping material to precise lengths.
Putty knife or scraper
Remove old weatherstripping and adhesive residue from frames before applying new material.
Rubbing alcohol and clean rags
Clean frame surfaces thoroughly so adhesive-backed weatherstripping bonds securely.
Hammer and finishing nails or staple gun
Secure nail-on or staple-on foam or felt weatherstripping types that don't rely on adhesive.
Screwdriver
Install door sweeps and reinforced door shoe seals that attach with screws.
What you will need
Step-by-Step Installation
Follow these steps in order for the most reliable results. Take your time on preparation - it determines how long the new seals will hold up.
Identify and measure all drafty openings
Walk through your home and identify every door and window that shows signs of air infiltration - visible light gaps, felt drafts, or rattling in wind. Use a tape measure to record the height and width of each door and window frame perimeter. Add the measurements together to calculate how many linear feet of weatherstripping you'll need, then add about 10% for waste and mistakes.
Choose the right weatherstripping type
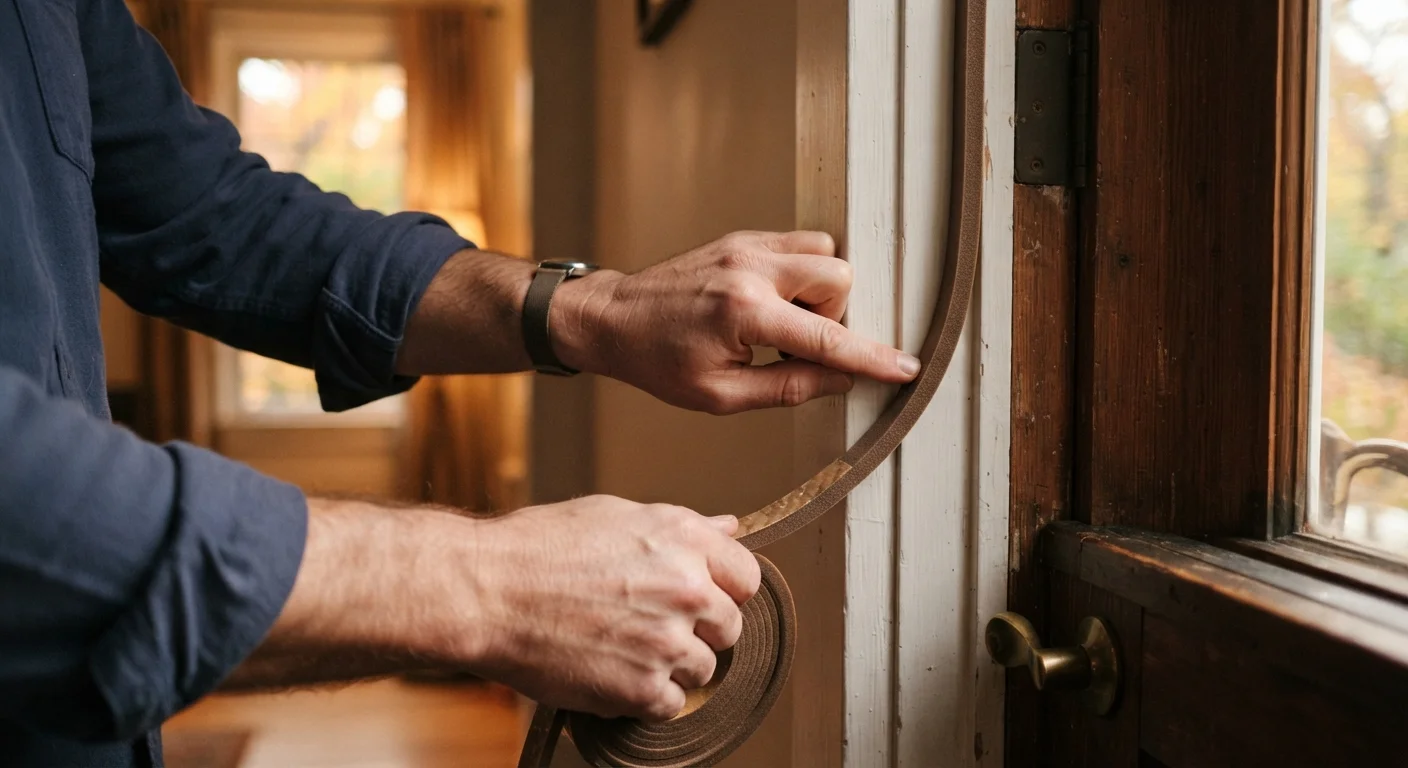
Different locations require different materials. Use self-adhesive foam tape for irregular gaps on window sashes and less-used doors - it's inexpensive and easy to apply. Choose V-strip (tension seal) - a folded piece of plastic or metal - for the sides of double-hung windows and doors where two surfaces slide past each other. For door stops (the molding a closed door presses against), door seal strips with a bulb or D-profile create a reliable compression seal. For the door bottom, select a door sweep (surface-mounted) or a door shoe (wraps the bottom edge) depending on your door's construction and the flooring clearance available.
Remove old weatherstripping and clean the surface
Peel or pry off all existing weatherstripping. Use a putty knife to lift stubborn adhesive strips. Scrape away any remaining adhesive residue, then wipe all contact surfaces thoroughly with rubbing alcohol and allow them to dry completely. Applying new material over dirt, grease, or old adhesive is one of the most common reasons weatherstripping fails within a single season.
Cut and install weatherstripping on door frames
Begin with the door's top rail (the horizontal top of the frame), then do the two vertical sides (called the jambs). Cut each piece to length with a utility knife or scissors, mitering the corners at a 45-degree angle if using a rigid material so pieces meet cleanly. For adhesive-backed types, peel the backing and press firmly into place. For nail-on types, space nails or staples every 4-6 inches to prevent buckling. Close the door and check that it compresses the seal evenly all the way around without making the door difficult to latch.
Install a door sweep or door shoe at the bottom
The gap under a door can be a significant source of heat loss. For a standard hinged door, a surface-mounted door sweep attaches to the interior face of the door with screws - position it so the flexible flap just brushes the floor or threshold when the door closes. For a more durable solution, a door shoe replaces the threshold seal and wraps around the door's bottom edge; this typically requires removing the door from its hinges. Follow the manufacturer's fitting instructions for your specific model.
Weatherstrip windows
For double-hung windows (the common style that slides up and down), cut V-strip to the full height of each sash channel and press or tack it in place with the open end of the V facing outward to catch air. Also add a strip of foam or foam-and-tape seal along the top rail of the lower sash, where it meets the upper sash when closed. For casement windows (which swing open on a hinge), apply a compression foam or rubber strip around the entire frame perimeter, similar to a door seal. Test the window's latch - it should close firmly without excessive force.
Test every seal and make adjustments
Once all weatherstripping is installed, close each door and window and repeat your draft test - hold a tissue strip near the perimeter on a windy day, or use your hand to feel for airflow. Pay attention to corners, where gaps are most likely. If you still feel air movement, check that the material is making consistent contact and hasn't shifted during installation. Minor adjustments often only require repositioning a strip or adding a small fill piece at a corner.
Know Your Limits: When to Call a Pro
Weatherstripping is a straightforward DIY task for most door and window types. However, if you discover rotted wood frames, structural damage, or windows that no longer operate correctly, stop and consult a qualified contractor before proceeding. Attempting to seal over damaged frames can trap moisture and accelerate deterioration.
Keeping Your Seals in Good Shape
Weatherstripping doesn't last forever. Foam tape typically lasts one to three years; V-strip and bulb-type seals may last considerably longer if they aren't subjected to heavy abrasion. Each fall, before temperatures drop, do a quick visual inspection of every door and window you've sealed. Look for compression set (foam that no longer springs back), cracks, tears, or adhesive failure along the edges.
Address small failures promptly rather than waiting until the end of the season. A six-inch section that has lifted away from the frame can let in as much cold air as a much larger gap because edges channel airflow efficiently. Replacing a short section of weatherstripping takes only a few minutes and costs very little - making it one of the most practical maintenance tasks a homeowner can perform independently. Keeping up with these small seasonal tasks, much like staying on top of seasonal vehicle maintenance, pays dividends in avoided costs and comfort all winter long.
Don't Seal Over Moisture Problems
If you notice condensation, water staining, or soft spots around a frame, address the moisture source first. Installing weatherstripping over a damp or deteriorating surface will trap moisture, potentially leading to mold and wood rot. Identify and resolve the underlying issue before sealing.